
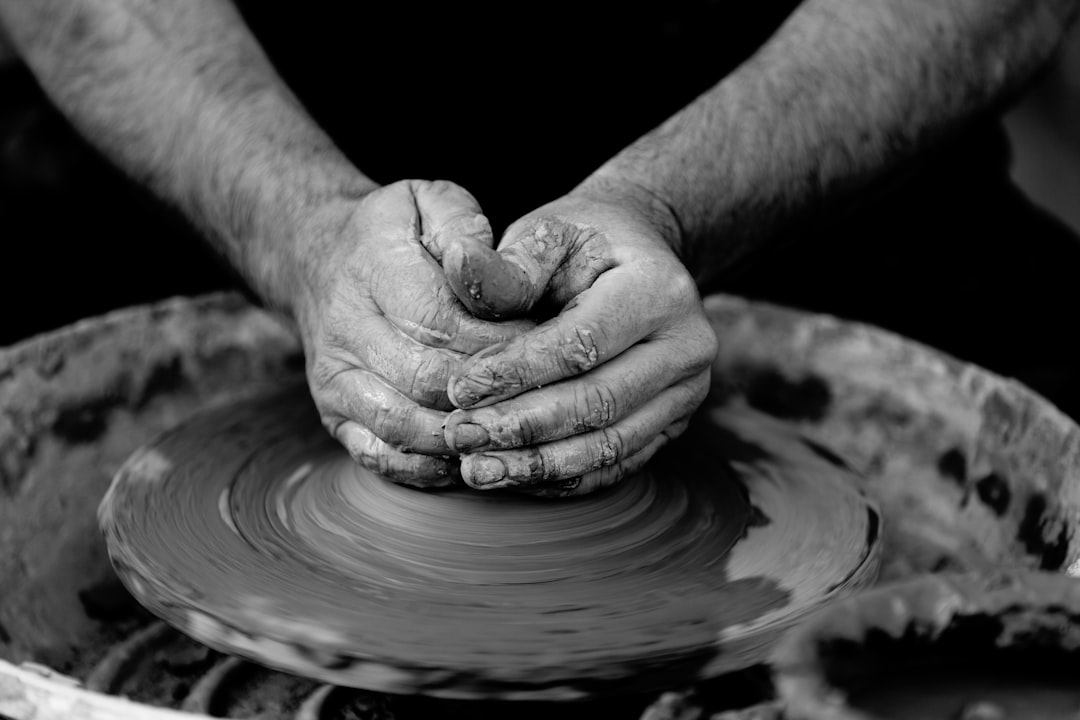
You signed up for a beginner wheel throwing pottery class because the idea of shaping a bowl out of a spinning lump of clay sounded impossible and irresistible at the same time. Good instinct. Now you’re googling "what is wedging" at 11pm the night before, and nobody in your life throws pottery so there’s no one to ask. Here’s what actually happens, minute by minute, so you walk in ready instead of guessing.
What happens in your first wheel throwing session
Most classes don’t start the wheel spinning right away. You’ll spend the first 20 minutes or so on a stationary wheel, just learning where your hands go and how to center a lump of clay using steady, even pressure. This part feels slow. It’s supposed to. Centering badly means everything after it wobbles, so leaders drill this before anything else.
Once you’ve got a feel for it, the wheel starts moving and you’ll open the clay (pressing a hole into the center) and pull the walls up into a simple bowl shape. Nobody throws a perfect vase in class one. You’re aiming for a functional, slightly lopsided bowl, and that’s a completely normal outcome for a first attempt.
Expect clay on your clothes, your face, and probably your shoes by the end.
Wear clothes you don’t mind ruining
A spinning wheel throws water and slip (the wet, sloppy clay mixture) further than you’d think. That new white sweater stays home. Skip loose sleeves too; they catch on the wheel and drag through wet clay without you noticing until it’s too late.
Dangly jewelry is a similar problem: rings and bracelets snag clay and interrupt your grip. An old t-shirt and pants you can roll up to the knee work best. Closed-toe shoes matter more than people expect. Splatter happens low, and bare feet or sandals get hit.
Your hands will feel alien for the first hour
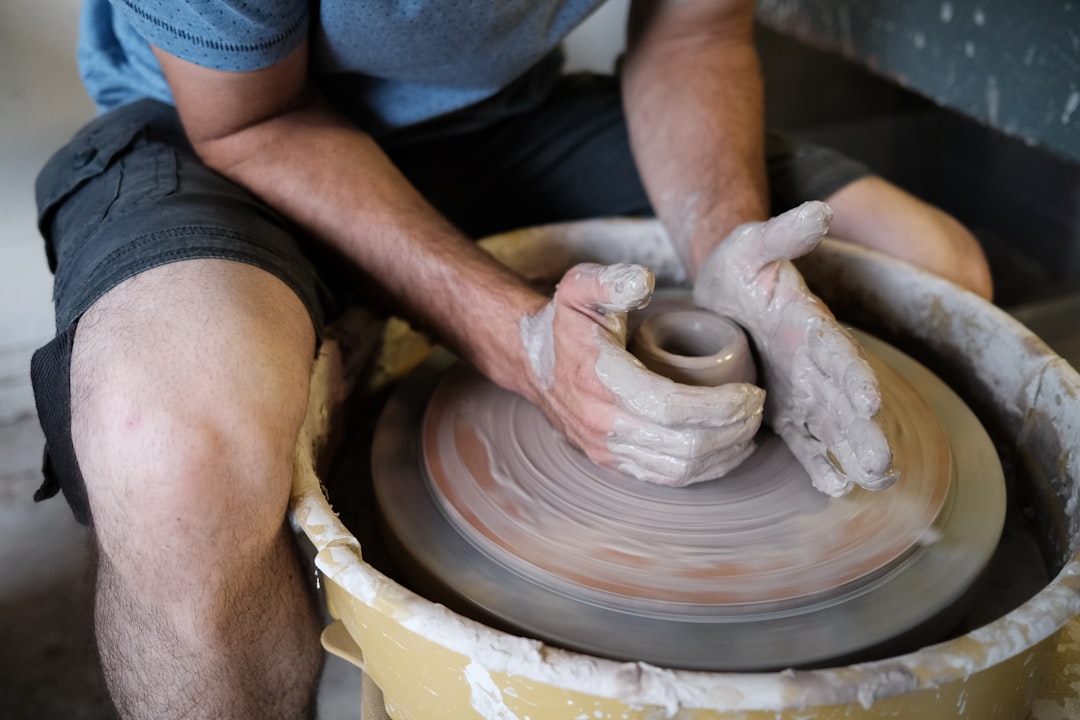
Centering clay takes a kind of pressure and precision your hands have never had to produce before. Not painful, exactly, but unfamiliar; your fingers might cramp, your palms might shake slightly trying to hold steady force against spinning clay. This is standard for a first beginner wheel throwing pottery session, not a sign you’re doing it wrong.
By your second class, your hands remember the motion in a way that feels almost automatic. The next morning after class one, though, expect your forearms to feel like you did a new kind of weightlifting. Because you kind of did.
Bring a towel and manage expectations about collapse
Your first bowl will probably collapse. Maybe it wobbles into an off-center mess halfway through pulling the walls up, or the whole thing folds in on itself when you apply too much pressure on one side. This happens to nearly every beginner in nearly every class. It’s not a reflection of your ability; it’s how you learn what "too much" and "too little" pressure feel like.
A hand towel keeps water off your lap and off the floor. A damp sponge helps you manage the clay’s moisture level as you work; too dry and it cracks, too wet and it slumps. Bring both. Bring patience too. The collapse is the lesson, not the failure.
Your piece gets fired after class, not today
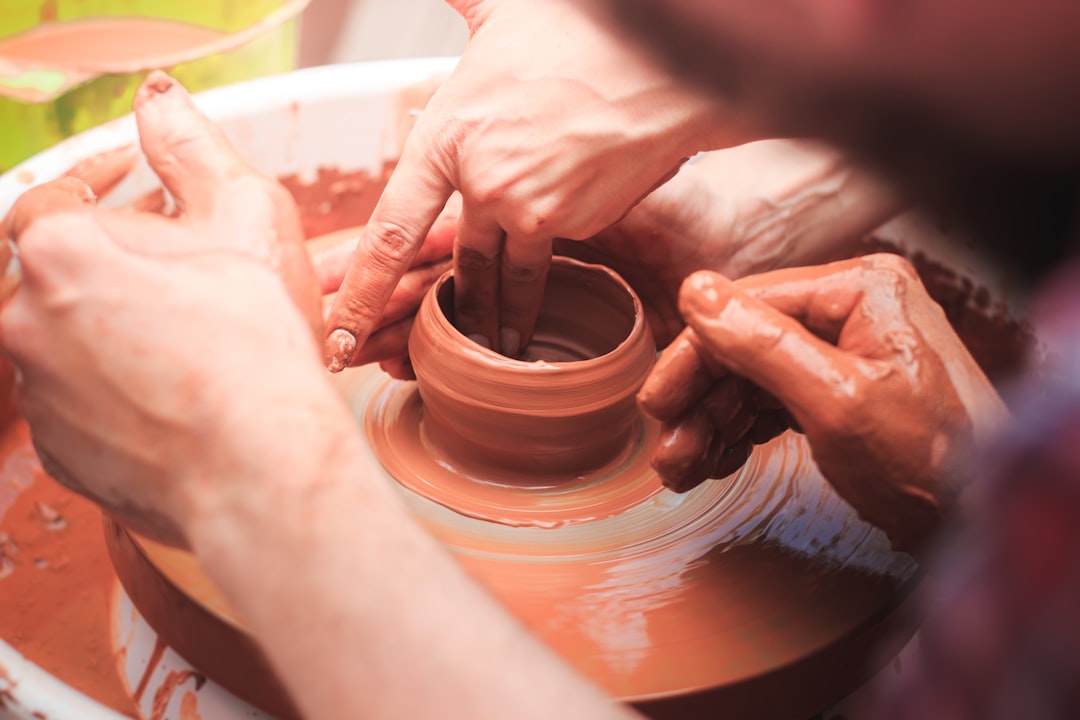
That lopsided bowl you’re proud of doesn’t come home with you today. It needs to dry first, then it goes into a kiln and fires at a high temperature (cone 6 or cone 10, depending on the studio and clay type). That process takes time, so you’ll typically pick your piece up 2 to 3 weeks after class.
It’ll probably look a little different from what you remember, usually rougher, sometimes smaller from shrinkage during firing. That’s normal. There’s something genuinely satisfying about the wait, too; the gap between making it and holding the finished piece builds real anticipation, and most first-timers say picking it up feels better than they expected.
Show up 5 minutes early and talk to your leader
Leaders notice who arrives ready to work and who’s still finding a seat when instruction starts. Getting there five minutes early gives you time to settle in and have a quick word with your leader about your experience level (zero, in most cases) and what you’re hoping to make.
That short conversation matters more than it seems. A leader who knows you’re a total beginner adjusts their pace and attention accordingly, spending more time on your centering technique instead of assuming you’ve got the basics down.
Bring water and snacks if the class is longer than 90 minutes
Wheel throwing pulls your focus in fully; you’re watching your hands, feeling the clay, listening for instruction, and two hours can pass without you noticing you haven’t had water since you walked in.
Energy dips hit hardest around the halfway mark of a longer session, and that’s exactly when your hand control and patience start to slip. Keep a water bottle within arm’s reach and a small snack nearby if your class runs past 90 minutes. Your hands work better hydrated and fed; simple as that.
Ready to find a beginner wheel throwing pottery class near you? Find workshops near you at wayfield.app/workshops.
Recommended Resources
pottery wheels
Essential equipment needed to practice the beginner wheel throwing technique described throughout the article.
pottery clay
The primary material used for wheel throwing that beginners need to purchase for their first class and practice.
towels
Explicitly recommended in the article to keep water and slip off your lap and floor during wheel throwing sessions.
pottery tools
Explicitly mentioned as necessary to manage clay moisture levels while working on the wheel to prevent cracking or slumping.
work shoes
Specifically recommended to protect feet from clay splatter that occurs at low levels during wheel throwing.
As an Amazon Associate, Wayfield earns from qualifying purchases. Clicking and buying through these links supports this content at no extra cost to you.




Leave a Reply